
[Published: July 26, 2026 | Last updated: July 26, 2026] | 8 min read
TL;DR
- Installing Katzkin seat covers yourself typically takes 8-15 hours, spread across a full weekend, based on multiple owner accounts (GM-Trucks Forum via seatcoverreview.com, 2026; Jeep Garage Forum, 2016).
- The job involves pulling the seats from the vehicle, stripping factory upholstery down to the foam, and stretching new leather over the original seat structure.
- A second pair of hands is strongly recommended, especially for stretching and stapling the material during the wrap (Challenger Talk Forum, 2010).
- Professional installation runs roughly $250-$450 in labor on top of the cover kit, which itself costs $600-$1,600 depending on vehicle and options (5thGenRams Forums, 2019; seatcoverreview.com, 2026).
- Basic mechanical skill is enough to attempt it, but expect wrinkles, sore hands, and a real chance you’ll want a heat gun or steamer before you’re done.
What Makes Katzkin Installation Difficult?
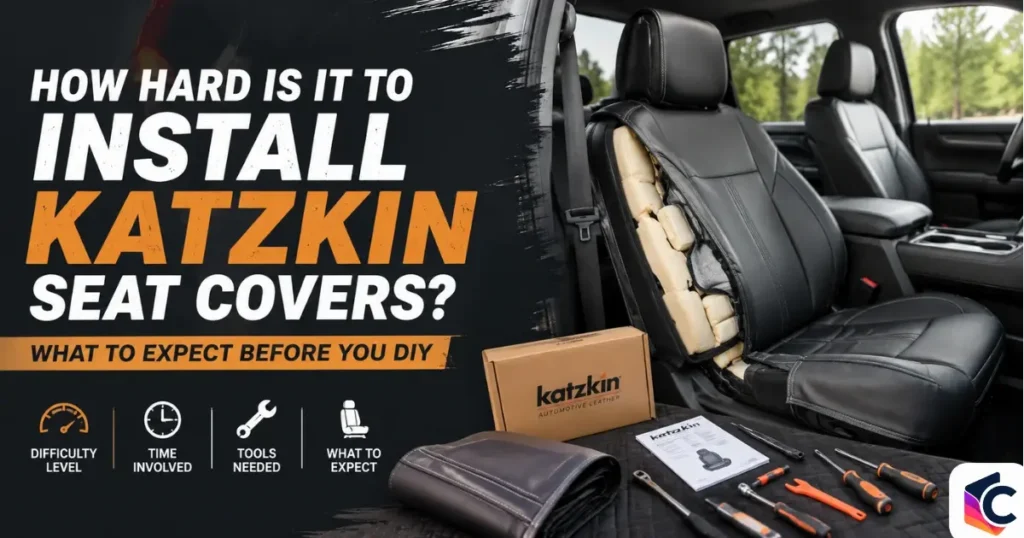
Katzkin seat covers are not slip-on covers. They are custom-cut leather upholstery designed to replace your factory seat covering entirely, which means the job starts with disassembling the seat, not draping fabric over it.
Multiple DIYers describe the same core challenge: getting new leather to fit as tightly and precisely as the factory material did. A professional installer explains that cheap seat covers can simply slip over cloth seats, but leather designed to fit like original equipment requires removing the seat, stripping the old upholstery down to the foam, and reinstalling the new cover so it doesn’t shift or bunch (Katzkin, 2026).
One installer summed up the physical side of it directly: DIY installation is technically possible but amounts to a full weekend project, with experienced DIYers on the GM-Trucks forum reporting 8-10 hours of work that includes heavy lifting, full seat disassembly, and stretching leather over foam (GM-Trucks Forum via seatcoverreview.com, 2026).
How Long Does a Katzkin DIY Install Actually Take?
Expect somewhere between 8 and 15 hours, and budget a full weekend rather than an afternoon. Owner reports vary by vehicle size, seat complexity, and how many hands are on the job.
A Jeep Grand Cherokee owner installing Katzkin covers over two days logged roughly 15 hours total, working without factory instructions and figuring out each step as he went (Jeep Garage Forum, 2016). A 2024 Tacoma owner reported 6 hours on the rear seats alone and 7 hours on the front seats, for about 13 hours total, and noted a second person made a real difference (Tacoma4G Forum, 2024).
Not everyone reports it taking that long. One Dodge Challenger owner finished in about 6 hours but said the job genuinely required two people, since stretching, wrapping, stapling, and clipping the material can’t be done with two hands alone (Challenger Talk Forum, 2010).
What Tools and Skills Do You Need?
You don’t need to be a professional upholsterer, but you do need a real toolkit and some patience with trial and error. Owners who’ve done the install list a fairly consistent set of requirements.
| Tool or Skill | Why You Need It |
|---|---|
| Socket set (1/2″, T20, T45, T50 Torx bits) | Removing seat bolts, seat belt anchors, and trim panels |
| Impact drill | Speeds up bolt removal significantly versus a hand ratchet |
| Panel removal tools | Prying plastic trim without cracking it |
| Steamer or heat source | Working wrinkles out of the new leather |
| A second person | Stretching and stapling leather during the wrap |
| Basic mechanical aptitude | Following seat disassembly steps without a full instruction manual |
One F-150 owner noted that using an impact drill instead of a ratchet sped the bolt removal up significantly, and that the rear seat was the one part of the job that was easier with a second person on hand (F150 Forum, 2019). Katzkin’s own installation instructions also flag safety steps specific to the job, including proper routing of airbag straps through the seat bolster during reassembly (Katzkin Installation Instructions PDF, katzkin.com).
DIY vs. Professional Install: Cost and Time Tradeoffs
The core tradeoff is straightforward: DIY saves money but costs a weekend, while a professional install costs more but takes a fraction of the time.
| Factor | DIY Install | Professional Install |
|---|---|---|
| Time required | 8-15 hours, typically over 1-2 days | Usually completed in a single day at a shop |
| Labor cost | $0 (your own time) | Roughly $250-$450, based on owner-reported quotes (5thGenRams Forums, 2019; Challenger Talk Forum, 2010) |
| Tools needed | Full socket set, panel tools, steamer | None — shop supplies everything |
| Risk of mistakes | Higher — wrinkles, misaligned clips, damaged trim | Lower — installers handle seats daily |
| Warranty considerations | May vary by seller if self-installed | Often bundled with installer’s workmanship guarantee |
One owner who ordered Katzkin covers online and paid a local installer $250 for the labor kept the job off his own plate entirely (5thGenRams Forums, 2019). Another who did it himself said the DIY route saved him about $450 compared to paying a shop (Challenger Talk Forum, 2010).
Common Problems Owners Run Into
Most DIY installers hit the same handful of snags. Knowing them ahead of time saves hours of troubleshooting mid-project.
- Stuck or corroded seat bolts: One Jeep owner ran into factory threadlocker on seat screws that made removal far harder than expected (Jeep Garage Forum, 2016).
- Stubborn factory retention clips: An eBay reviewer installing covers on a Ford F-150 said the embedded factory clips didn’t work well with the new cover, and switching to cable ties to secure the ribs solved the problem after two days of effort (eBay Review, 2017).
- Wrinkled leather after the wrap: Several installers mention needing a steamer, or simply letting the seats sit in summer heat, to smooth out creases once the cover is on.
- Headrest removal confusion: More than one owner flagged the headrest as one of the fussier parts of the job, since the release mechanism and any wiring for heated or active headrests aren’t always obvious.
- No official step-by-step guide: Some installers report going in without instructions and having to figure out the disassembly order themselves, which adds significant time.
Common Mistakes to Avoid
- Skipping the second set of hands: Trying to stretch and staple leather solo is one of the most repeated frustrations in owner accounts. Line up help before you start.
- Disconnecting the battery too late: Katzkin’s own instructions and forum posters recommend disconnecting the negative battery terminal before working near seat airbags, to avoid accidentally triggering one.
- Rushing the leather stretch: Pulling the cover tight without working out wrinkles evenly leads to a lumpy finish that’s hard to fix after the fact.
- Ignoring the airbag strap routing: Katzkin’s installation documentation specifically calls out routing the inner and outer airbag straps correctly through the seat bolster opening — getting this wrong is a safety issue, not just a cosmetic one.
Frequently Asked Questions About Installing Katzkin Seat Covers
Is installing Katzkin seat covers a DIY-friendly project?
It’s possible for someone with basic mechanical skills and the right tools, but it’s a full weekend project, not a quick afternoon task. Most owner accounts put the time at 8-15 hours.
How long does a Katzkin install take?
Owner reports range from about 6 hours (with two people working) to 15 hours for a single installer working alone over two days. Vehicle type and seat complexity affect the total.
Do I need a helper to install Katzkin seat covers?
Most DIYers say yes. Stretching, stapling, and clipping the leather in place is difficult to manage single-handed, and the rear seat especially benefits from a second person.
How much does professional Katzkin installation cost?
Owner-reported labor costs range from about $250 to $450, separate from the cost of the seat cover kit itself, which typically runs $600-$1,600.
What tools do I need to install Katzkin seat covers myself?
A socket set with 1/2-inch and Torx bits (commonly T20, T45, or T50), panel removal tools, and a steamer or heat source for smoothing wrinkles are the most commonly cited requirements.
Can I install Katzkin covers without removing the seats from the car?
No. The process requires pulling the seats out of the vehicle to strip the factory upholstery down to the foam before fitting the new leather.
Key Takeaways
- A Katzkin DIY install typically takes 8-15 hours and is best planned as a weekend project.
- The job requires full seat removal and disassembly, not just draping a cover over the seat.
- A second person makes the stretching and stapling steps significantly easier.
- Professional installation costs roughly $250-$450 in labor but takes a fraction of the time.
- Common problems include stuck bolts, factory clips that don’t cooperate, and wrinkled leather that needs steaming.
References
- Katzkin Seat Covers Review 2026: Real Leather Quality & Install Guide — seatcoverreview.com
- Custom Car Seat Cover Installation | Leather Seat Installation — Katzkin
- DIY Katzkin install! – Ford F150 Forum — F150Forum.com

Leave a Reply